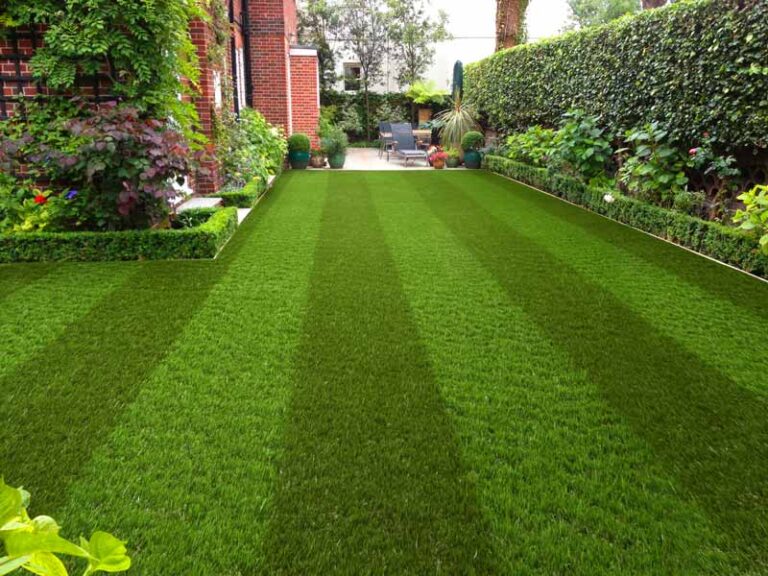
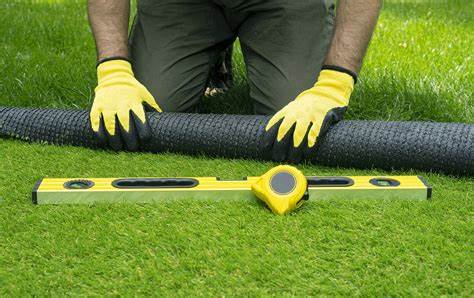
Installing artificial grass is a fantastic way to create a low-maintenance, evergreen space that looks lush year-round. However, the key to a perfect installation lies in getting the details right. Whether you’re a DIY enthusiast or hiring professionals, understanding the essential do’s and don’ts can make a significant difference in the outcome. Let’s dive into the crucial steps you should follow — and the common mistakes you should avoid — to ensure your artificial grass installation is flawless.
 The Do’s of Artificial Grass Installation
- Do Prepare the Ground Properly
- The foundation is everything. Clear the area of existing grass, weeds, and debris, then excavate the soil to a suitable depth — usually around 50-100mm (2-4 inches). This creates space for a stable base layer.
- Do Install a Suitable Base
- A strong sub-base prevents shifting and ensures proper drainage. Use a compacted layer of crushed rock, road base, or decomposed granite. Proper compaction is essential for a smooth and even surface.
- Do Consider Drainage
- Artificial grass needs effective drainage to avoid water pooling. Make sure the base slopes slightly or install a drainage system if necessary, especially in regions prone to heavy rain.
- Do Use a Weed Barrier
- To prevent weeds from growing through the artificial turf, lay down a high-quality geotextile weed membrane before installing the grass. This will minimize maintenance in the long run.
- Do Allow the Grass to Acclimatize
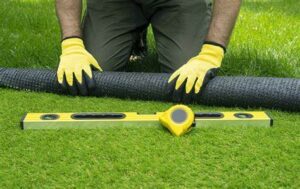
- Unroll the artificial grass and let it sit for 24-48 hours before installation. This helps the turf relax and reduces wrinkles, ensuring a smoother finish.
- Do Secure the Edges
- Properly securing the edges is crucial to prevent the turf from lifting over time. Use landscape nails, U-pins, or adhesive along the perimeter, ensuring the grass stays firmly in place.
- Do Brush and Infill
- Once the grass is installed, brush the fibers with a stiff broom to help them stand upright. Adding infill (such as silica sand or rubber granules) enhances stability, supports the blades, and improves the turf’s lifespan.
 The Don’ts of Artificial Grass Installation
- Don’t Skip Ground Preparation
- Installing artificial grass directly on soil or uneven ground is a recipe for disaster. Skipping the groundwork can lead to uneven surfaces, poor drainage, and long-term stability issues.
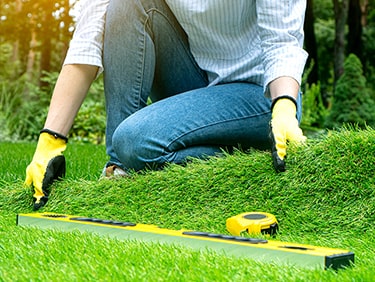
- Don’t Overlook the Importance of Slope
- Ignoring proper grading can result in water pooling on the surface. Always ensure a slight slope to guide water away from the area.
- Don’t Neglect Joint Seams
- When joining multiple rolls of artificial grass, align the fibers correctly to avoid visible seams. Use strong seam tape and adhesive to keep the joints secure. Improper seaming can create an unsightly “zipper” effect.
- Don’t Forget About Expansion and Contraction
- Artificial grass can expand and contract with temperature changes. Avoid pulling the turf too tight during installation to prevent buckling in hot weather.
- Don’t Use Low-Quality Materials
- Cutting costs on the base material, weed membrane, or adhesive can compromise the installation’s durability. Invest in high-quality products for long-term performance.
- Don’t Ignore the Edges
- Failing to secure the edges properly can lead to curling, shifting, or even tripping hazards. Pay special attention to corners and high-traffic areas.
- Don’t Rush the Process
- Artificial grass installation requires patience and attention to detail. Rushing can result in mistakes that are costly and time-consuming to fix later. Take your time to do it right.
 Final Thoughts
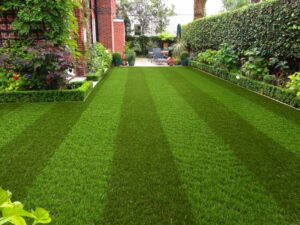
A successful artificial grass installation is all about preparation, precision, and using the right materials. By following these do’s and avoiding the don’ts, you’ll achieve a beautifully installed lawn that looks natural and lasts for years. Whether it’s a backyard retreat, a playground, or a sports field, these guidelines will help you create a perfect green space without the hassle of constant maintenance.

